

A slow laptop may not need a new processor. Too many startup apps, low storage, and background tasks can slow Windows, even when the hardware still works well. A few focused changes can help speed up a slow Windows laptop and make daily tasks smoother.
First, find the cause of the slowdown, then review Windows performance settings that matter. Microsoft PC Manager can clean storage, manage startup apps, and optimize system performance. If outdated hardware is the main issue, software tweaks may only help so much.
These steps can improve Windows laptop performance without deleting personal files or changing settings at random.
Key Takeaways
- Check what is slowing down Windows before making changes.
- Limit startup and background apps you do not need.
- Free up storage with built-in Windows tools.
- Review Windows performance settings for practical gains.
- Consider a hardware upgrade if the laptop remains slow.
Find the Windows bottleneck before changing settings
A slow laptop can have many causes, including busy apps or low storage. Check system resources before changing settings. A quick Task Manager performance check can help you find the cause.

Use Task Manager to check CPU, memory, and disk usage
Press Ctrl + Shift + Esc to open Task Manager. Review the Processes, Performance, and Startup apps views, then watch resource use during normal activity. If CPU, memory, or disk usage stays above 80%, that resource may be the bottleneck.
For more detail, type resmon in Windows Search to open Resource Monitor. Check CPU, disk, network, and memory activity by process. These views can help you diagnose a slow laptop without guessing which app causes the lag.
Check free storage and Windows system health
Low free space can slow Windows, so check available storage on your drive. Windows disk and memory usage readings can reveal resource issues, while system file checks may find damage behind unexplained slowdowns.
To check system files, open Command Prompt as an administrator and run DISM /Online /Cleanup-Image /RestoreHealth. Keep the laptop connected to the internet, and allow 15 to 20 minutes. After it finishes, run sfc /scannow.
| What to check | Possible sign | Next step |
|---|---|---|
| CPU, memory, or disk | Usage stays above 80% during normal use | Use Task Manager or Resource Monitor to identify the busy process |
| Available storage | Very little free space remains | Review drive space before changing settings |
| Windows system files | Slowdowns have no clear cause | Run DISM, followed by sfc /scannow |
Disable startup apps that slow down boot time
Apps that open with Windows can add seconds to startup and use memory in the background. For Windows startup optimization, press Ctrl + Shift + Esc, select Startup apps, and review the list.
Check the Startup impact column for apps marked high. Spotify, Discord, OneDrive, game launchers, and laptop maker apps may appear there. Turn off only apps you recognize and do not need right away. This simple startup app management step can help create a faster Windows boot time.
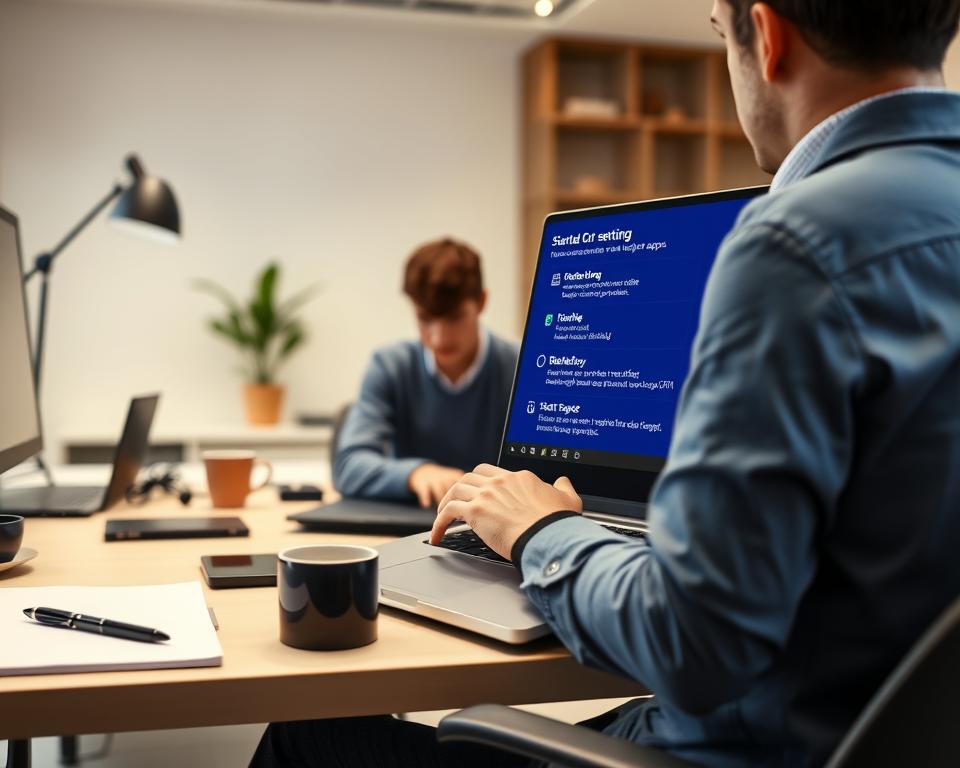
Disabling an app stops it from opening automatically, but does not uninstall it. Leave audio and Bluetooth drivers, security tools, and unfamiliar items enabled unless you know what they do.
Free up storage without deleting personal files
Low disk space can slow a Windows laptop. You can free up Windows storage by removing unused apps and clearing replaceable or unwanted files.
Remove unused apps and large downloads
Open Settings, select Apps, and uninstall programs you no longer use. Check the Downloads folder before deleting anything because it may contain files you still need.
For temporary file cleanup, open Settings, select System, choose Storage, and then select Temporary files. Review the list, choose items to remove, and select Remove files. Disk Cleanup offers another built-in option: search for it, open the app, and select a drive.
Turn on Windows Storage Sense
Open Settings, choose System, and then select Storage. Turn on Storage Sense to clear temporary files and Recycle Bin contents on a schedule. Downloads are removed only when you enable that option in the Storage Sense settings, so review it first.
Select Run Storage Sense now if the option appears. Use the table below to choose a cleanup method that fits your needs.
| Cleanup option | What it can remove | Check before you start |
|---|---|---|
| Temporary files | Selected system and app files | Review the file list in Settings |
| Storage Sense | Temporary files and Recycle Bin contents | Downloads are included only when configured |
| Apps and Downloads | Unused programs and selected personal files | Keep files you may need later |
| Disk Cleanup | Selected files on a chosen drive | Confirm the drive and items before removal |
Stop unnecessary background apps and browser processes
Some apps keep running when you are not using them, using CPU power and memory. News, weather, email, and social media apps may run in the background.
To reduce background resource use, open Settings, select Apps, choose an app, and check Advanced options. Set its background activity permission to Never when that option is available.
Too many open programs can slow your laptop, even when they sit idle. Open Task Manager and review CPU and memory use to find resource-heavy apps. Close programs you do not need, but leave unfamiliar system processes alone.
Browsers can use plenty of memory when many tabs are open. Save pages you want to revisit, close unused browser tabs, and keep only needed tabs for your current task.
Adjust Windows power and visual effects for better speed
Power settings and screen effects can change how quickly Windows responds. Choose the best balance for each task.
Choose a performance-focused power mode
In Windows 11, open Settings, choose System, then Power & battery. Set Power mode to Best performance for a high performance power mode. In Windows 10, open Additional power settings and choose the High performance plan if it appears.
These modes use more power and may make your laptop warmer. Use them when speed matters and an outlet is nearby. However, they can reduce laptop battery performance.
Reduce animations and transparency effects
Search Windows for “Adjust the appearance and performance of Windows.” On the Visual Effects tab, select Adjust for best performance. This turns off Windows visual effects that use system resources.
The change may feel most noticeable on PCs with less than 8 GB of RAM.
Update Windows, drivers, and laptop firmware
Windows updates can fix bugs and improve performance. Open Windows Update, check for updates, and install available ones. Restart your laptop if asked.
Optional driver updates can help resolve device issues. In Windows 11, open Windows Update, Advanced options, and Optional updates. In Windows 10, choose View optional updates in Windows Update.
For laptop firmware checks, use your laptop maker’s support app or instructions. Follow each step carefully because interrupting a firmware update can cause problems.
Microsoft ended free Windows 10 software updates, technical support, and security fixes on October 14, 2025. Windows 10 still works, but Microsoft recommends moving to Windows 11.
| Update type | Where to check | What to know |
|---|---|---|
| Windows updates | Windows Update | May include fixes and performance improvements; a restart may be needed. |
| Optional driver updates | Windows Update settings | May include noncritical drivers for specific devices. |
| Laptop firmware | Your laptop maker’s support app or guidance | Follow the maker’s steps and do not interrupt the update. |
Scan for malware and unwanted software
Malware can use CPU and disk resources, which can slow a laptop. Run a malware scan with Windows Security virus protection to check for threats.
In Windows 11, open Settings, select Privacy & security, Windows Security, and Virus & threat protection. Choose Quick scan. In Windows 10, open Settings, select Update & Security, Windows Security, and Virus & threat protection. Choose Quick scan under Current threats.
You may need to restart the laptop to finish the scan. Remove unwanted software by uninstalling apps you no longer use, which frees storage and reduces background activity. Use care with registry cleaners and system optimization tools; they may install unwanted software or change settings, making Windows unstable.
Decide whether more RAM or an SSD upgrade is needed
Open Task Manager during your usual work. If memory use often exceeds 80%, RAM management may need attention. Windows 11 can use several gigabytes of RAM while idle, so check again with normal apps open.
When RAM runs low, Windows uses a paging file on the drive. Disk storage is slower than memory, which can make apps stutter. Upgrading RAM to 8 GB may help; 16 GB suits heavier work, including image editing or many open browser tabs.
If disk use stays above 90%, the drive may be the bottleneck. Traditional hard drives often reach 80–160 MB/s, while SATA SSDs reach about 500 MB/s. An SSD upgrade can speed startup and apps; NVMe reaches 3,000–7,000 MB/s and excels with large files and Windows loading.
For hard drive optimization, consider the drive type before changing settings. Windows 11 manages SSDs with TRIM, so manual defragmentation is usually unnecessary. It may add wear without improving speed.
Keep the laptop responsive after the tune-up
Close apps and browser tabs you are not using. If the laptop still feels slow, restart Windows for performance. Then open only needed apps and close them when finished.
Regular laptop maintenance can include turning off unwanted alerts. Microsoft PC Manager offers tools to clean storage and manage startup apps.
Before repair commands or advanced changes, search Start for “Create a restore point.” Select Create, then name the Windows system restore point with the date. If problems continue, check for hardware bottlenecks; older laptops may need more RAM or an SSD for better speed.