

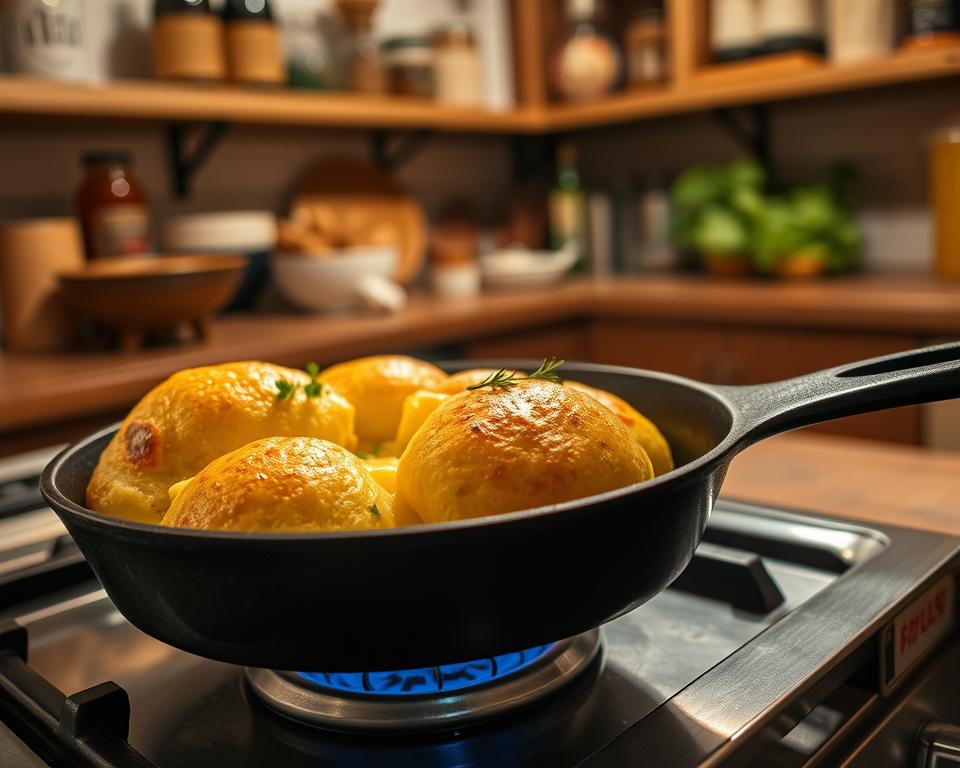
Brazilian cheese bread can go from batter to breakfast in less than 10 minutes. Pão de queijo na frigideira cooks on the stovetop, with no oven to preheat, mixer to use, or baking pan to clean. It makes warm, cheesy bread with a tender center for busy mornings.
Eliana Michaelichen shared a breakfast version on EliaNaCozinha. This simple method makes pão de queijo na frigideira easy to try at home, even when time is short.
Key Takeaways
- This Brazilian cheese bread cooks on the stovetop.
- It can be ready in less than 10 minutes.
- No oven, mixer, or baking pan is needed.
- It makes a warm, cheesy breakfast for busy mornings.
Gather the Ingredients for Pão de Queijo na Frigideira
For Eliana Michaelichen’s skillet version, gather 1 egg, a pinch of salt, and 6 tablespoons of milk. Add 3 tablespoons of Parmesan and 5 tablespoons of sour cassava starch or tapioca starch. Include a small spoonful of baking powder and mozzarella to taste.
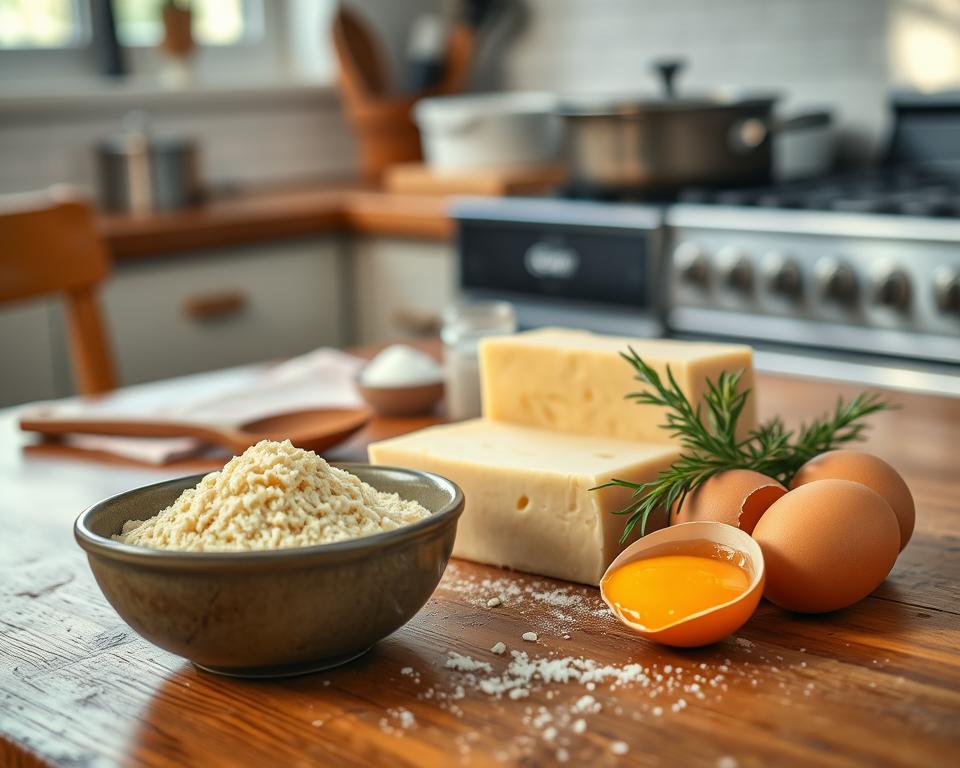
A smaller-batch version uses 1 egg, 3 tablespoons of sour cassava starch, 1 tablespoon of grated cheese, and 1 tablespoon of milk. Add 1 teaspoon of butter or oil, a pinch of salt, and cubed cheese for a gooey center.
Choose the Right Cheese and Tapioca Flour
For a smooth batter, use finely grated Parmesan or another dry, grated cheese. It adds savory flavor without too much moisture. Tapioca starch, also called tapioca flour, gives the bread its chewy texture.
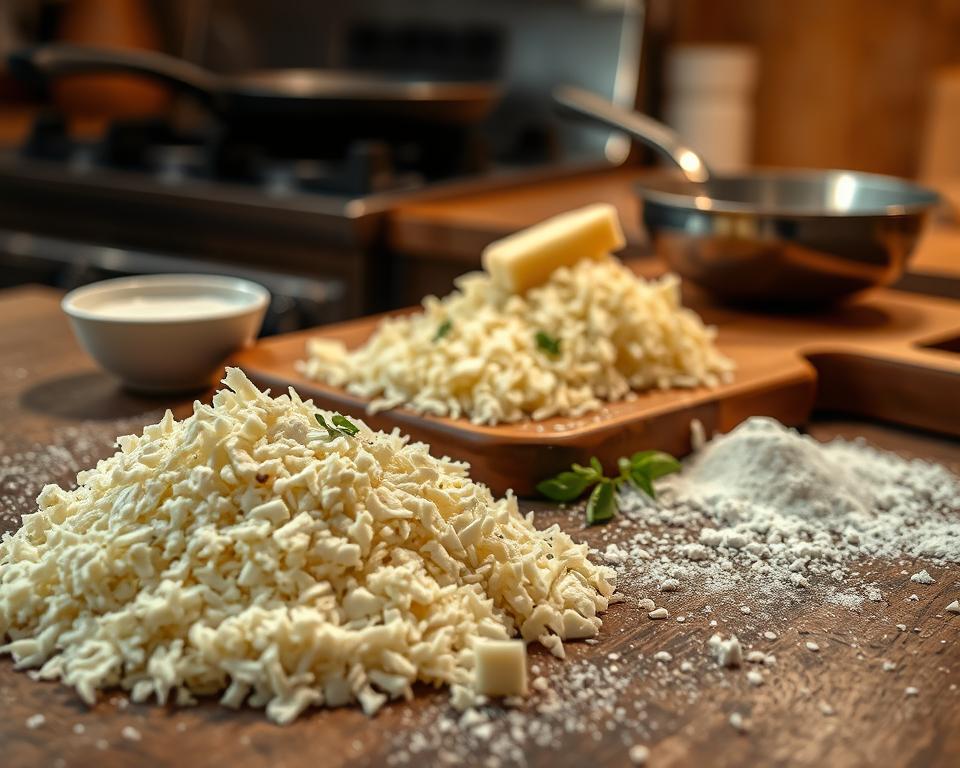
Use mozzarella or small cheese cubes for a soft, stretchy center. Minas cheese works, too. Choose a firmer type, such as meia-cura, because fresh Minas cheese holds more moisture and may soften the batter.
Sweet tapioca starch makes a tender bite, while sour starch creates a lighter, airier texture. Blending both is a handy choice for skillet pão de queijo.
| Ingredient | Best use | What it adds |
|---|---|---|
| Parmesan or grated cheese | Mix into the batter | Salty, savory flavor |
| Mozzarella | Add as a filling | A soft, stretchy center |
| Firm Minas cheese | Use in small cubes | A mild, creamy filling |
| Sweet tapioca starch | Use in the batter | A tender, chewy texture |
| Sour tapioca starch | Use alone or blend with sweet starch | A lighter, airier texture |
Mix the Batter Until Smooth
Beat an egg with a fork in a bowl. Add sour cassava starch, grated cheese, milk, melted butter or oil, and a pinch of salt. Stir until smooth and creamy.
Check the dough consistency before cooking. The skillet batter should coat a spoon, but it should not pour like milk.
Heat the Skillet Without Burning the Cheese Bread
Place a nonstick skillet over medium heat and warm it for one minute. Lightly grease it with a little oil or butter, if you like.
Pour in the batter when the skillet feels warm. Steady stovetop cooking helps the cheese bread cook without scorching. You do not need a preheated oven or baking pan.
Cook the Pão de Queijo Until Golden and Set
Cover the skillet and cook the batter for about 3 minutes. The edges should lift easily, and the underside should look golden. This short skillet cooking time helps the bread set without drying.
Slide a spatula under the bread and flip it. Cook the other side for about 2 minutes, watching for even cheese browning. Add cheese to the center, then fold the bread like a tapioca.
Tell When the Center Is Fully Cooked
After about 3 minutes, check if the cooked edges lift easily from the skillet. Flip the bread and cook the other side for about 2 minutes.
Press the center lightly. It should feel set, not soft or wet. A smooth dough consistency helps the bread cook evenly, but checking inside works best: the middle should have no runny batter.
Fix Common Skillet Cheese Bread Problems
If the batter feels thin, add tapioca flour until it turns creamy. Mix until smooth, but do not make the batter stiff. The right batter texture helps the bread cook through without becoming gummy.
For a softer mix, replace the milk with plain yogurt. You can also replace sour cassava starch with almond flour or a gluten-free flour blend. These choices make a handy gluten-free snack, but they change traditional pão de queijo’s flavor.
For a vegan version, use a flax egg, plant-based milk, and plant-based cheese. Stir well so everything blends evenly before cooking.
| Problem | What to try | What to expect |
|---|---|---|
| Batter is runny | Add tapioca flour a spoonful at a time. | A creamy batter that holds its shape better. |
| Bread feels dense | Mix just until smooth, and avoid adding too much flour. | A lighter, more tender bite. |
| Want a different version | Try yogurt, almond flour, a gluten-free blend, or vegan swaps. | A useful variation with a flavor that may differ from the classic. |
Serve It With Coffee or Your Favorite Breakfast Sides
Serve pão de queijo na frigideira warm, while the cheese inside stays soft and melty. Black coffee or tea makes an easy breakfast pairing.
For an afternoon snack, pair a slice with juice. Before a workout, add Greek yogurt for protein and a more filling snack.
| When to Serve | Pairing | Why It Works |
|---|---|---|
| Breakfast | Black coffee or tea | A warm, savory start to the day |
| Afternoon snack | Fruit juice | A bright match for the cheesy bread |
| Pre-workout snack | Greek yogurt | Adds protein and makes the snack more filling |
Enjoy Fresh, Cheesy Skillet Bread in Minutes
This quick Brazilian cheese bread brings warm, savory flavor to breakfast in less than 10 minutes. You need only simple ingredients and a skillet—no oven, baking pan, mixer, or blender.
This easy recipe adapts traditional pão de queijo, which is usually baked in the oven. Mix the batter, cook it over gentle heat, and check that the center is set before serving.
Enjoy your fresh cheese bread warm with coffee or your favorite breakfast sides. It has a tender bite and rich cheese flavor that frozen or microwaved versions cannot match.